
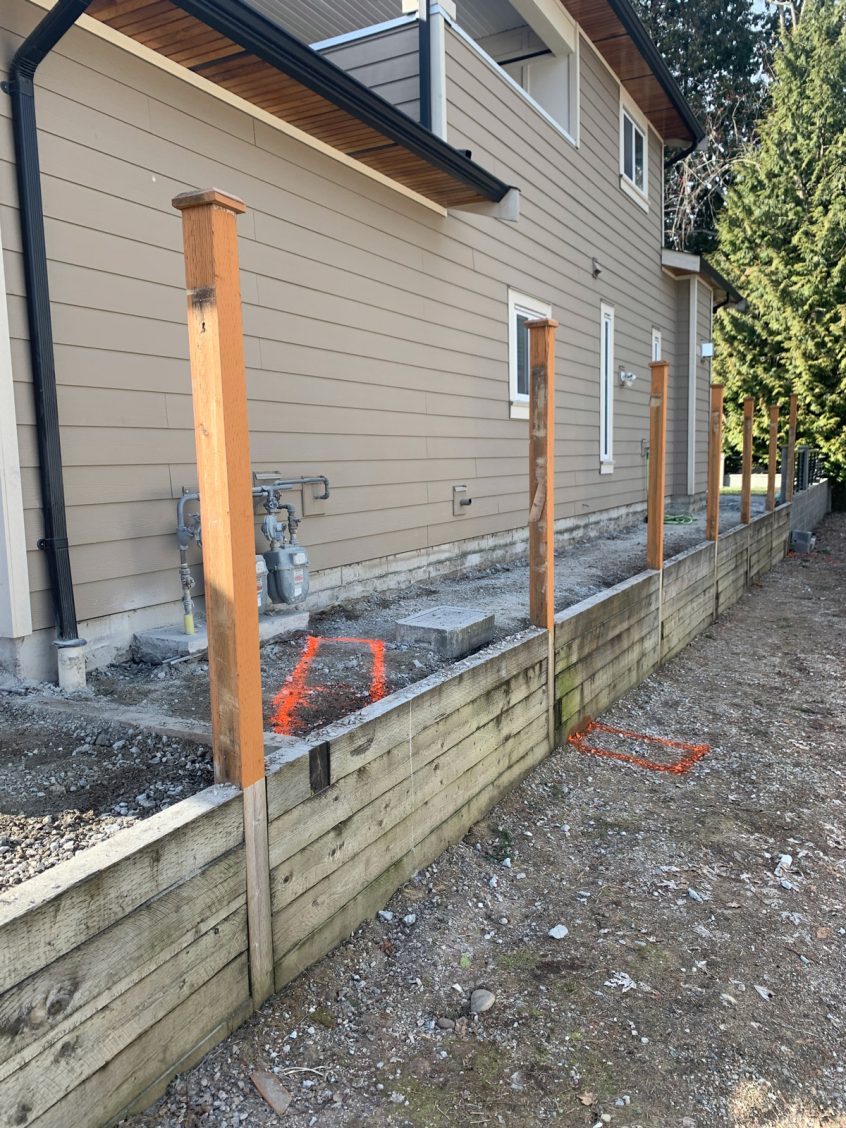
aAre you considering installing cedar fencing on your property? If so, there are a number of key things to take note of. Climate, materials, and the type of post all play a role in wooden fence installations. While it’s also highly recommended to rely on professionals to do fencing, it’s important to note that not all fencing companies offer the same products or fence installation services. You must know what to look for and what questions to ask.
Let’s explore four different methods of post-installation for your new cedar fence and discuss some basic information regarding its construction.
Posts: Fence Installation Basics & Setting Agents
With BC’s intense weather conditions, planning your fence installation correctly is vital for its structural integrity. BC annually experiences 70-90 km/hr winds, heavy rains, and deep freeze-thaw cycles that can have an effect up to 18 inches into the ground on average. What does that mean for your fencing needs?
It’s suggested that:
- Fence posts should be set 24 Inches below the surface at minimum to avoid any instability issues.
- Different setting agents can be used, as well as specialized installation methods for extra durability or protection against the elements.
Professional fence installers should know how to ensure maximum strength and quality results. So make sure to seek out the best local fencing companies who know exactly how to create safe and effective fences.
1. Concrete
Using concrete as a setting agent when installing wood fence posts is common practice for many fencing companies. That’s because it hardens and creates a solid base that helps stand up to strong winds, forming an effective counterweight against the post. This results in a reliable, long-lasting fence structure that can withstand even the strongest gusts of wind.
When purchasing pre-packaged concrete, there are two key types to consider:
-
- A standard mix that can be used for the majority of projects. However, it takes up to 24 hours for an initial set time when wet mixed & poured.
- Fast-setting post mix has an initial set time of just 20-40 minutes, making it significantly safer when working with fence posts.
Note: You can also create concrete yourself by combining an aggregate, such as navi-jack (a combination of coarse sand and 3/4inch rocks), with a binding agent known as portland cement in a ratio of 5:1.
Over time, posts become weakened and eventually deteriorate when set in concrete because of water accumulation within the crevices of their junctions. This can accelerate decomposition. To combat this, some professional fencing companies form concrete around the post into a peak and seal it with silicone around the seam. This is no easy feat and requires more effort and resources. Therefore, it’s best done by professionals, especially if you want your fence to rest on ground level for pet containment. This means that panels or materials must be cut so that they can fit properly in these areas.
2. Compacted Aggregate
Using aggregate as a setting agent when installing a fence post is the second method. Through this process, the installer can dig an extra-deep hole and add 4-6 inches of drain rock for a total post depth of 30 inches. Once the drain rock has been placed, the post should be set in 1/4 inch minus (or chips and fines) aggregate, which is then filled in six inch increments at a time while utilizing a poking or compacting instrument to ensure proper compaction.
This approach is the preferred choice of many commercial industries because it allows the wood to breathe and release moisture on all four sides, as well as from its bottom throughout changing seasons. You’ll find that this style is widely used for electrical posts- a testament to its effectiveness!
Tip: Try pairing the drain rock step with the concrete method to add an extra level of protection to your post!
3. Anchored Posts
To ensure a secure wooden fence installation on concrete surfaces, post brackets can be used and anchored with appropriate fasteners. Alternatively, you may use metal rods welded to the bracket, which are then secured using an anchoring epoxy.
Installing a fence on saddle mounted or anchored posts can create an incredibly durable and long-lasting system. Digging the post locations, pouring the concrete into holes with a light finishing touch, then setting powder-coated or galvanized post brackets along a string line that is level and plumbed properly, will ensure you have created an easily reusable post system for when your wood fencing needs replacing in years to come.
4. Post Sleeves
The final method utilizes a wood fence post product that can be used in conjunction with the three previous methods. These easy-to-install pieces slide over existing posts to guard against rot and decay while also serving as a barrier from lawn maintenance equipment like weed eaters.
Some Installers believe the sleeve method can trap in water like that of concrete; you have the freedom to choose how you’ll use this product.
Tip: If you don’t have a post sleeve handy, you can replace them with a cost-effective alternative like blue skin for a peel-and-stick application.
Secure Your Fence Installation with these Surefire Methods
From pre-made concrete to post sleeves, there are a variety of methods available to ensure your fence installation is secure and safe. With the right preparation and knowledge, you can create a long-lasting solution that helps protect your investment for years down the road.
Need help with your project? Contact Frontline Fencing today to schedule a free estimate.
If you’re looking for a reliable and cost-effective way to install fencing on your property, contact Frontline Fencing today! Get in touch with our experts now, schedule a free estimate, and find out why Frontline Fencing is the go-to choice! Be sure to ask us about our range of fencing solutions when you call!